Three steps
-
1
Lay them out
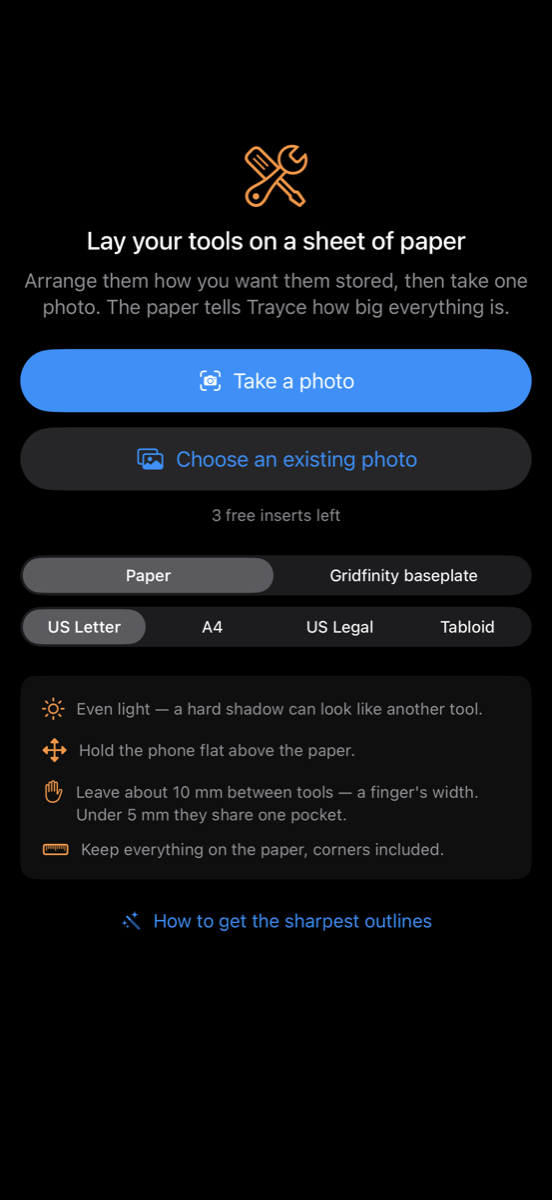
Arrange your tools on a sheet of paper exactly how you want them stored. Leave about a finger's width between them.
-
2
Take one photo
The paper is the ruler. A US Letter page is 215.9 × 279.4 mm exactly, so once the corners are found the size of everything is known — not estimated.
-
3
Print it
Set the depth and the fit, then export a 3MF with both parts and their colours. Drops straight into OrcaSlicer, Bambu Studio, PrusaSlicer or Cura.
Why the paper matters
Most apps guess scale from the camera. Trayce measures against something whose size is a published standard, so a 32 mm wrench comes out 32 mm — through a handheld, shadowed, slightly warped photo. That is the difference between a pocket your tool drops into and one it does not.
What it looks like
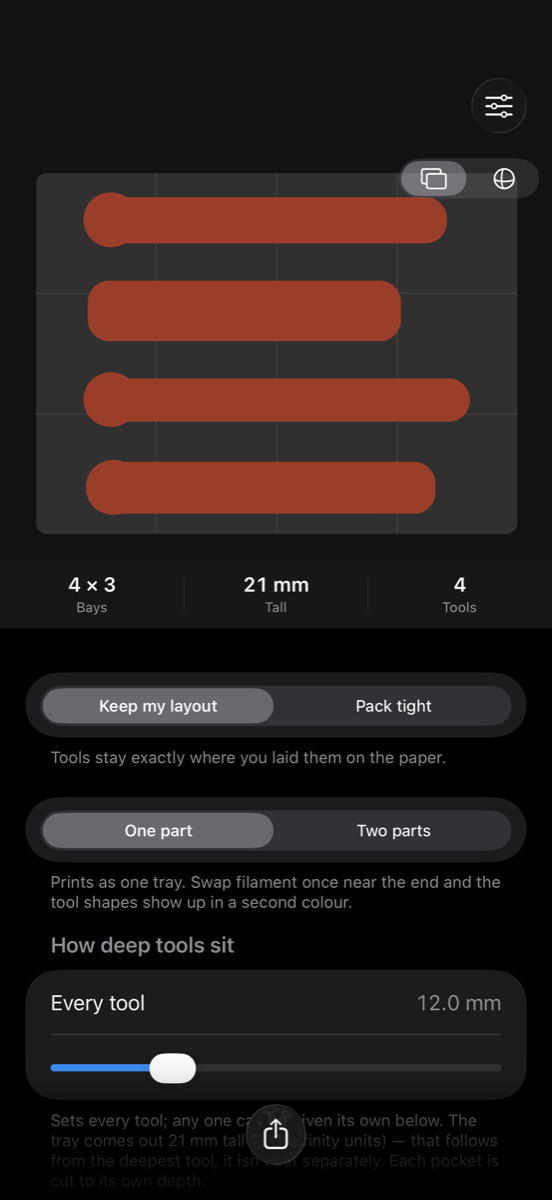
Made for printing, not for looking at
Two colours, two ways
One part with a single filament change, so the tool shapes appear in a second colour. Or a tray plus thin coloured inlays, printed separately and dropped in — no swap at all.
Finger notches
A scoop beside each tool so you can actually lift it out. Skipped automatically on anything wide enough to pinch.
Real Gridfinity
42 mm pitch, proper feet, bodies at 42n−0.5. Measured off a printed bin and a working baseplate, not from a diagram.
Fit you choose
Snug, just right, or loose. Per-tool depth. Save a setup and every insert after it comes out to match.
The size, on the tray
Bay count, height and depth raised on the top face, so a tray you find in a drawer next year still says what it is.
Your photos stay put
Every bit of the image work happens on your phone. No photo, outline or model is ever uploaded — we could not look at them if we wanted to.
Pricing
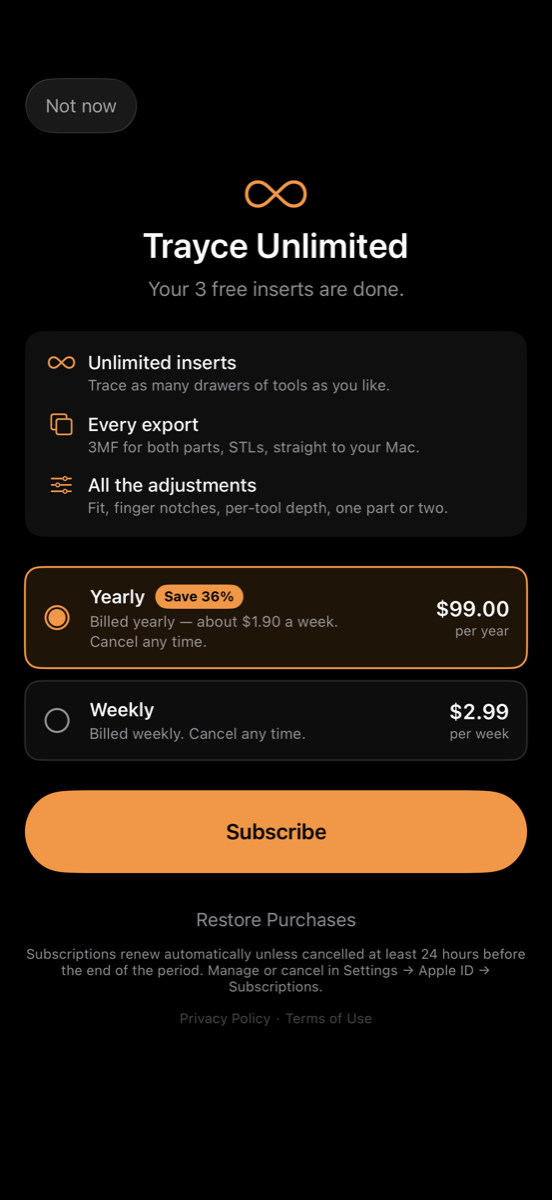
Your first three inserts are free — enough to do a drawer and see whether the fit suits your printer. After that:
Get it
 Scan to install